In this article, find the following information:
- Information on time management
- Log time on a task
- Access timelogs
- The different types of time
- Log time over a period (day, week, month)
- Choose time unit: hours or days
- Visual representation of timelogs
- Example of time management
- Log times on multiple tasks/members
Information on time management
To understand how time tracking works in general and in Beesbusy in particular, you can read this article: Understanding time management.
Note 1: To log time on a task, it is mandatory that at least one member is assigned to it, except for global time entry.
Log time on a task
Access timelogs
To log time on a task, click on it to display the task detail panel. There are then 2 ways to proceed:
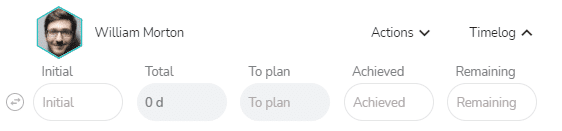
- Task > Who tab of the task detail: click on “Timelog” next to the name of the relevant user to indicate the times per member.
- Task > Task detail panel: On the right, click on the “Timelogs”


The different types of time
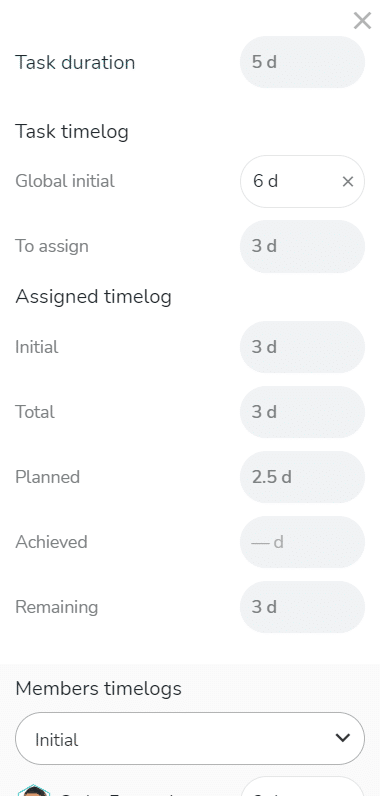
You can add and edit the following information:
- Global initial time: estimated time to complete the task
- Initial time: estimated time to complete the task, assigned to one or more members
- Achieved time: time spent on the task
- Remaining time: remaining time required to complete the task (or for the member to complete their work)
These different times can be modified. However, the other information are automatically adjusted according to the modifications made.
- Time to assign: initial global time that is not yet assigned to members on the task
- Total time: completed time added to the remaining time (if indicated), otherwise total of the initial times
- Time to plan: time calculated by making the difference between the initial time on the one hand, and the planned and/or realized time on the other hand
- Planned time: time that has been scheduled over a specific period (day, week, month)
- Progress: percentage of progress of the task calculated according to the ratio between the initial time, the time completed and the time remaining
Note 2: You can enter an achieved time without necessarily indicating an initial time.
Note 3: The remaining time and completion can be calculated and modified only if the achieved time is indicated.
Log time over a period (day, week, month)
You can log each member’s time (in hours or days) per day, week or month depending on how you wish to log and track their time.
Task > Who tab of the task detail: click on “Timelog” next to the name of the relevant user to indicate the times per member.
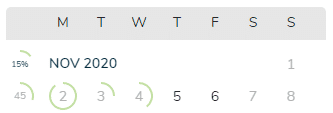
Click on ![]() “Plan a period” then select a period to plan the time (month, week or day). Then select a period or date from the calendar. You visualize the availability of the member in real time thanks to the colored circle which is completed proportionally according to the hours already entered.
“Plan a period” then select a period to plan the time (month, week or day). Then select a period or date from the calendar. You visualize the availability of the member in real time thanks to the colored circle which is completed proportionally according to the hours already entered.
You can plan multiple time periods. The planned time impacts the duration of the task if applicable.
You find the total of the planned times in the summary line.
Note 4: Remember to compare the total time and the planned time to make sure you have planned the time necessary to complete the task for each member.
Choose time unit: days or hours, and switch if necessary
If the task is not scheduled (= no duration in the When tab of the task) but you still enter workload for a member, this workload will be expressed in days by default.
If the task is scheduled in days in the When tab and you enter time for a member, this time will be expressed in days by default.
If the task is scheduled in hours in the When tab and you enter time for a member, this time will be expressed in hours by default.
In any case, you can change the unit of time entry with the button 
This button allows you to enter times in hours for a task whose duration is expressed in days, and vice versa.
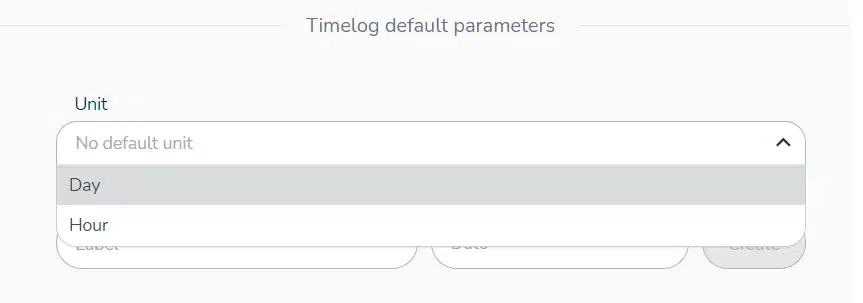
You also have the option to choose the time unit that will apply to all tasks in your project.
To do this, go to the project settings, “Timelog default parameters” section, and choose the unit that suits you:
For more information on the duration of a task, see this article: Scheduling a task.
Visual representation of timelogs
In the What view of a project, if some time is logged on a task, a time symbol 
When you log times on a task, the progress indicator (What tab of the task detail) automatically adjusts to the percentage of progress of the time entry.
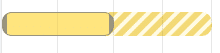
In the planning views (When and Who views of a project, multi-project views) you visualize the times planned for the task with a brighter colored area.

If the times are exceeded, hatching is added outside the task.
Example of time management
Example: delayed task and calculation of the progress
You estimated 1 hour of workload (Initial time), but you actually spent 2 hours on this task and did only half the work. You can indicate an achieved time of 2 hours. In this case, the completion will automatically indicate 100% but you can add 1 hour of remaining time. The progress will automatically be updated to 50%.
Log time on multiple tasks or multiple members
To log time for several tasks or several members, go to the time tracking reports views. For more information, see the dedicated article: Time tracking displays
You can also enter times on several in the Who view of the project > Display times : see the article Use the time display in the Who view to plan your resources