Labels allow you to add categories to your tasks and to tag them.
Add a label
Task > Task detail panel: On the right, click on “Labels” 
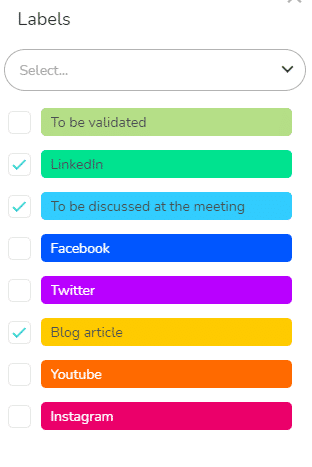
In the Labels pane, check the box to display the label and click on the label to change the label name. You can add up to 25 labels.
These labels are visible to all members of the project.

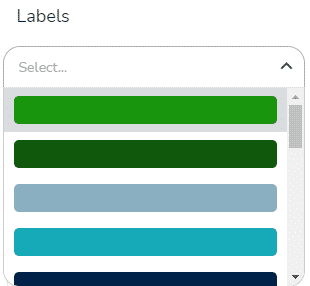
You can also use the drop-down list to add other labels.

Removing a label
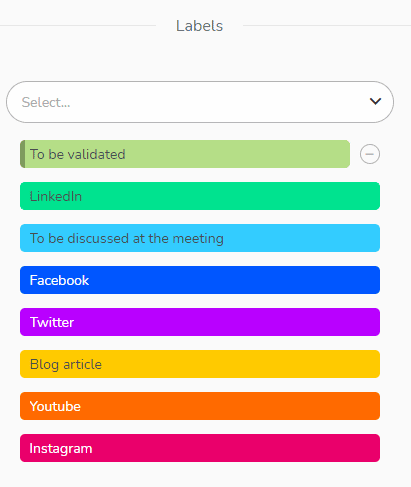
To remove a label, go to the Labels section of the project settings.

Among the labels present in the project, you can select the label you wish to remove by positioning your mouse cursor on the label and clicking on .
You will be asked to confirm the deletion.
If you delete a label from the settings, it will be completely removed from the project. This allows you to remove a label from all the tasks in the project with only one click.
Customize or rename labels
You can add a name to labels to assign a notion to a colour.
In the “Labels” pane, click on the label. Enter the name of the label and press “Enter” to validate. To modify an existing name, follow the same procedure.
These label names are valid for the project only.
Label names can also be changed from the project settings. Click on the label and rename your label.
Viewing Labels
Labels are visible in the What view as colored rectangles to the right of the task.

In the planning views (When, Who and Multi-projects), labels appear if the zoom level allows it. Indeed, labels are not visible on tasks that are too small.
In all views, tasks can only display 6 labels, even if they have more than 6 in their “Labels” pane.

In the different views, it is possible to filter the tasks according to their labels.
See the article on filters for more information.
You can also display the label legend at the top of the project: go to the project settings, Display Options section, to enable this option. Simply check the box for “Show project name and labels.”
