You can change the color of a project at any time.
Choose the color of a project
In your project, click on the
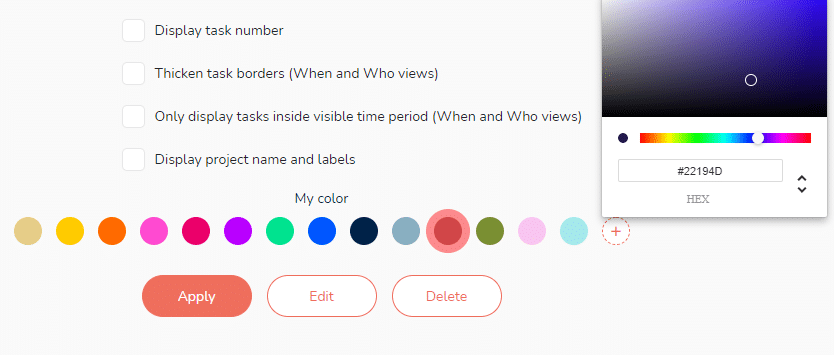
By default, you can choose from 10 colors.

Customize your projects’ colors
With the Enterprise plan, you can add new customizable colors. To do this, click on the 
Once the new color is created, it will be added to your color list and available for all your projects.
Select a customized color and choose an action: apply to the project, edit or delete.

Colors of shared projects
When you share a project with other users, the color you have chosen is then displayed by default for these people (custom color or not).
You can change the color of a shared project. In this case, this change will only be visible to you.
In the case of a custom color, if you change the initial color of a shared project and you do not benefit from the Enterprise plan, you will no longer have access to this color thereafter.