User drop-down menu > Subscription > My subscription: access your subscription configuration.
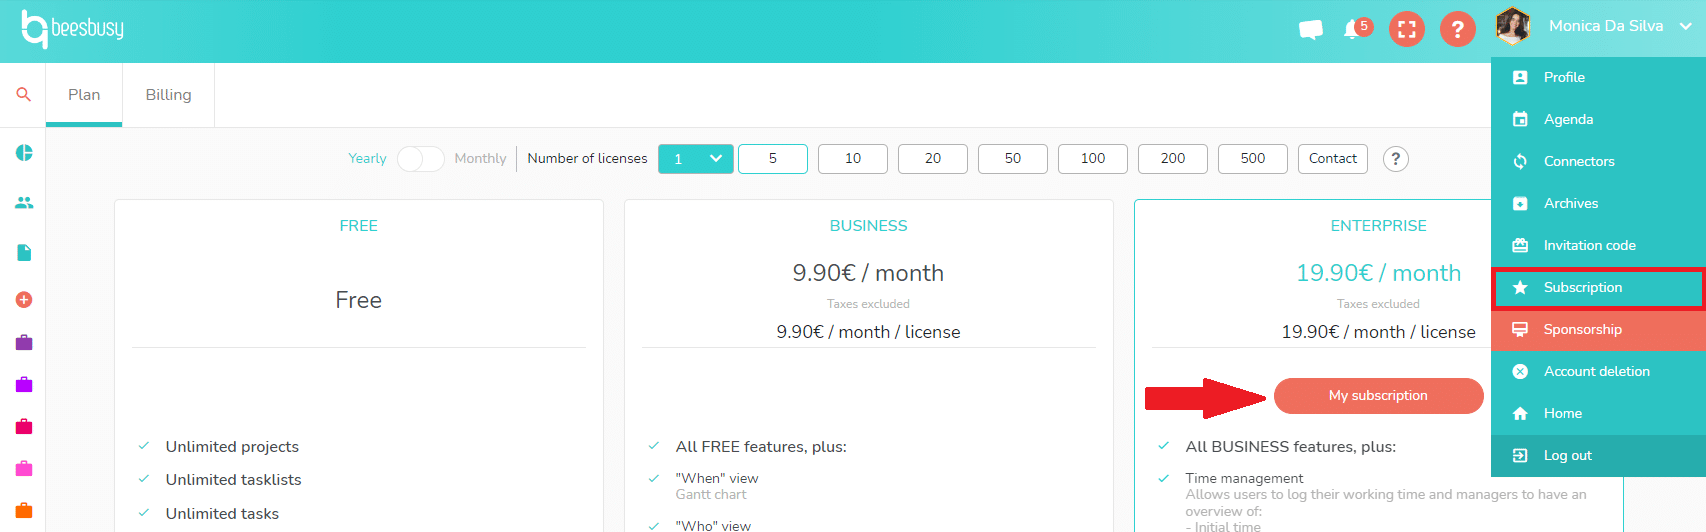
You can then:
- Modify your plan
- Manage your licenses
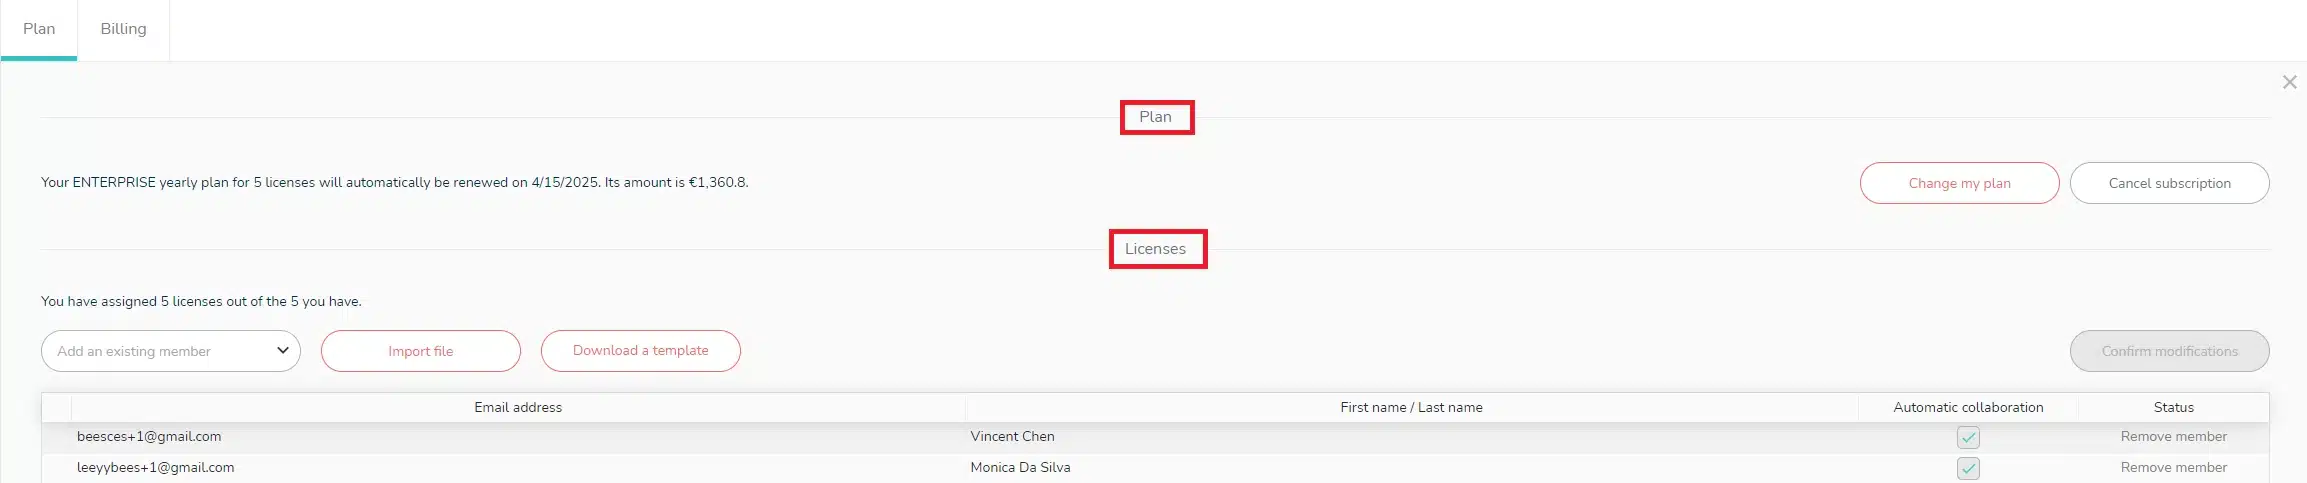
Modify your plan
Right-click on “Change my plan”.
A window opens, allowing you to change your plan or type of billing, and increase the number of users.
Only customers who have paid for their subscription by credit card can change their plan online. Customers who have paid by bank transfer must contact us for any modification.
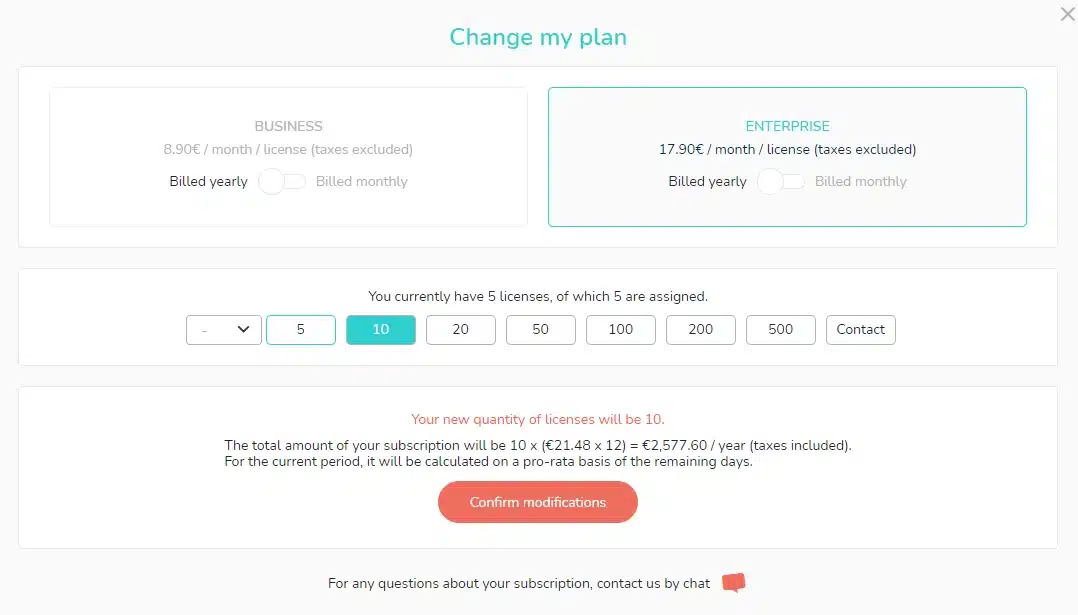
Changing plan or type of billing
You can only change your subscription type from Business to Enterprise, or from monthly to annual billing.
For all other changes, please contact us.
Once you’ve selected the package that suits you best, read the summary carefully, then click on the “Confirm modifications” button.
Increase or decrease the number of licenses
Click on the quantity you require.
Then read the summary carefully and click on the “Confirm modifications” button.
Manage your licenses
Add other users to your subscription
Once you’ve paid for your subscription, on the “My subscription” page you have 3 options for assigning licenses to other users:
- Use the “Add an existing member” button to assign a license to a member already in contact with you, and therefore included in your list of members.
- Click on “Import file” to import a file containing the e-mail addresses, first names and positions (optional) of your users. Download the import file template by clicking on the “Download template” button.
- Under the table with the list of members benefiting from one of your licenses, create a member and send him an invitation by clicking on “Add”. They’ll automatically benefit from your license as soon as they’ve created their Beesbusy account.
- Create an invitation code that you can send to all your users. They can enter the invitation code in their Profile. You’ll receive a notification each time a user uses your invitation code, and the list of users will be updated up to the specified number.
In all cases, validate your configuration by clicking on “Confirm modifications”.

You can also add users to your subscription directly from the member list.
Members > List > Member profile: Under member details, click on “Add to my subscription”.
If your subscription allows, the member will then be added to the list of users benefiting from your subscription.
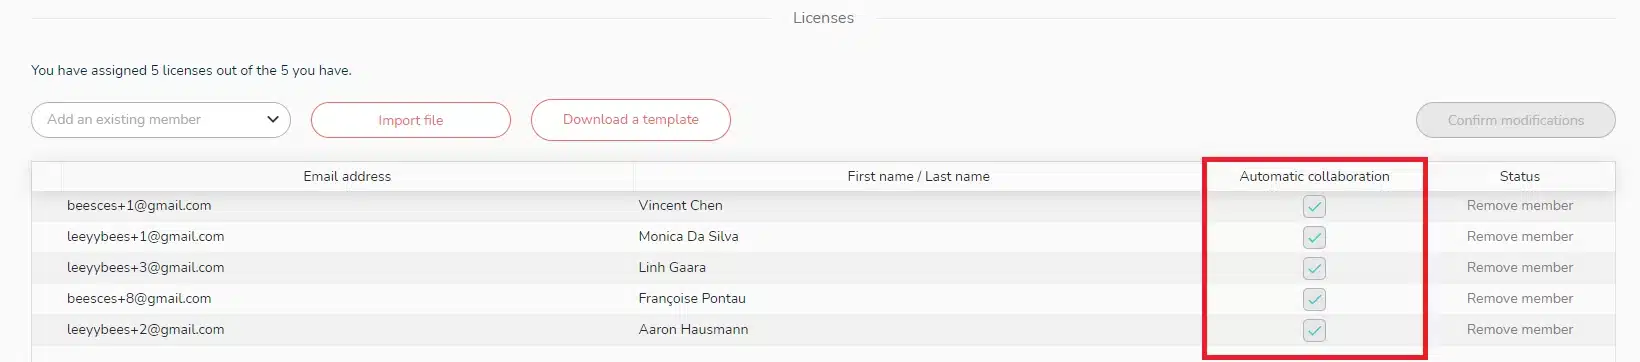
Automatic collaboration
When you add a member to your subscription, the box in the “Automatic collaboration” column is checked by default. If you leave the box checked, the member you add to your subscription will automatically be added to the list of members already on your subscription. And this new member’s member list will be incremented by all the members already present on the subscription.
If you don’t want this automatic linking, simply uncheck the “Automatic collaboration” box when adding a member to your subscription.
Remove members from your subscription
If you wish to retrieve a license you have assigned to a member, click on “Remove member” on the relevant line.

The selected member’s line is highlighted in red, and you can cancel the removal, or click on “Confirm modifications” to confirm the removal.