Smart-tags
In this article, find information about the following:
- What is a smart-tag used for?
- Create a smart-tag
- Edit a smart-tag
- Use smart tags
- Smart-tags and display filters
- Smart-tags and project sharing
- Smart-tags and assignment of members to a task
- Smart-tags and members
What is a smart-tag used for?
The smart-tag will allow you to group members, according to the characteristics you choose (location, skills, position, department…). You can then find the smart-tags in different places and use them to save time when assigning members or to filter a view.
Examples: members of your communication department, project managers, members of the New York office, members of the London office, interns…
Create a smart-tag
Go to the Members page, then click on the Smart-tags tab:

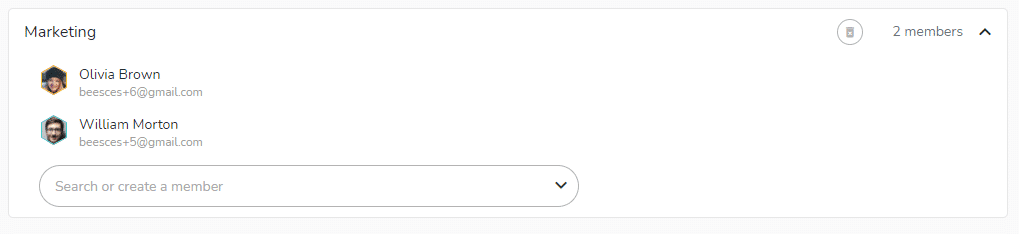
Enter a name in the “Create new smart-tag” bar to name your smart-tag then click on the “Create smart-tag” button. Then you can add the members you want to this smart-tag using the drop-down menu.
Note 1: The smart-tags you create are visible and usable only by you.
Note 2: You can create as many smart tags as you want and a member can belong to more than one smart tag.
Edit a smart-tag
To rename a smart-tag, position your cursor next to its name. Make your changes, then press “Enter” or click outside the field to apply the changes.
To delete a smart-tag, click the delete icon to the right of the smart-tag’s name.![]()
To remove a member from a smart-tag, hover your mouse over the member’s name, and click the remove icon on the right.![]()
To add a member to an existing smart-tag, just use the drop down menu at the bottom of the smart-tag and select the member you want to add.
Use smart tags
Smart-tags and display filters
The smart-tags created are included in the filters used to customize the display of your views. By selecting a smart-tag, only the tasks assigned to members included in this smart-tag will be selected for display.
Smart-tags and project sharing
Project> ![]() “Settings” icon: in the project settings, “Collaboration on project” section, you can share the project with the members of a smart-tag. Use the toggle to switch from “member” to “smart-tag”
“Settings” icon: in the project settings, “Collaboration on project” section, you can share the project with the members of a smart-tag. Use the toggle to switch from “member” to “smart-tag”![]()
![]() . Select the desired smart-tag from the drop-down menu.
. Select the desired smart-tag from the drop-down menu.

See the article on project sharing to learn more: https://www.beesbusy.com/resources/features/project/share-project-with-members-manage-access-rights/
Smart-tags and assigning members to a task
In the detail of the task, Who tab, you can assign the task to the members of a smart-tag. Use the toggle to switch from “member” to “smart-tag”![]()
![]() . See the article on assigning member to a task for more information: https://www.beesbusy.com/resources/features/tasks/assign-members-task/
. See the article on assigning member to a task for more information: https://www.beesbusy.com/resources/features/tasks/assign-members-task/
Dashboard indicators organized by smart-tags
Customized dashboards allow the creation of monitoring indicators by smart-tag. This allows you to track the activity of a team, not just one member or all members.
This also works for the project portfolios of the global dashboard.
Smart-tags and members
Consult a member’s profile, “Smart-tags” section, to view and manage the smart-tags to which they belong.