How to access the filters?
Filters allow you to customize your view, displaying only certain tasks according to different selection criteria.
Filters are available in project views (What, When and Who) and in multi-project views (Planning, Gantt and Calendars).
Click on the “+ Filter” icon in the top right of the various views:![]()
This gives you access to the available filters, so you can view your projects as you wish. You can select multiple filters to refine your view.
Simple filters
You can filter on the following items:

- Filter by member: display the tasks assigned to one or more members.
- Filter by smart-tags: display the tasks assigned to members of a smart-tag. To know more about smar-tags, see the following article: https://www.beesbusy.com/resources/features/members/smart-tags/
- Filter by status: not completed, completed, late (whose end date has passed), In time (today’s date is comprised between start and end dates, To come (whose start date has not yet passed), scheduled, not scheduled, milestone, not milestone. To know more about milestones, see the following article: https://www.beesbusy.com/resources/features/tasks/links-milestones-manage-dependencies-tasks/
- Filter by label: one of the labels used in the project, without label or with label(s). To know more about labels, see the following article: https://www.beesbusy.com/resources/features/tasks/labels/
- Filter by role: one or more roles, provided that roles have been added to the project in the project settings. To know more about roles, see the following article: https://www.beesbusy.com/resources/features/tasks/roles/
- Filter by third-party: one or more third-parties, provided that third-parties have been added to the project in the project settings. To know more about third parties, see the following article: https://www.beesbusy.com/resources/features/user-account-profile/how-to-create-and-use-third-parties-in-beesbusy/
Good to know: filters are saved when you navigate from one view to another, or when you quit the project and then come back to it.
Filters in the Multi-projects views (Schedule, Gantt, and Calendars)
When you arrive in one of the multi-project views, you can select one or more projects to display (if no project is selected). This allows you to have a more efficient display. You can then modify this selection with the filters.
- Filter by project: choose one or more project(s) to display
- Filter by member: display the tasks assigned to one or more members.
- Filter by smart-tags: display the tasks assigned to members of a smart-tag. To know more about smar-tags, see the following article: https://www.beesbusy.com/resources/features/members/smart-tags/
- Filter by status: not completed, completed, late (whose end date has passed), In time (today’s date is comprised between start and end dates, To come (whose start date has not yet passed), scheduled, not scheduled, milestone, not milestone. To know more about milestones, see the following article: https://www.beesbusy.com/resources/features/tasks/links-milestones-manage-dependencies-tasks/
- Filter by label: one of the labels used in the project, without label or with label(s). To know more about labels, see the following article: https://www.beesbusy.com/resources/features/tasks/labels/
- Filter by role: one or more roles, provided that roles have been added to the project in the project settings. To know more about roles, see the following article: https://www.beesbusy.com/resources/features/tasks/roles/
- Filter by third-party: one or more third-parties, provided that third-parties have been added to the project in the project settings.
- To know more about third parties, see the following article: https://www.beesbusy.com/resources/features/user-account-profile/how-to-create-and-use-third-parties-in-beesbusy/
Good to know: filters are saved when you navigate from one view to another, or when you quit the project and then come back to it.
Advanced filters
Like simple filters, advanced filters are available in both project and multi-projects views.
To access advanced filters, click on the corresponding tab in the filters pop-up:
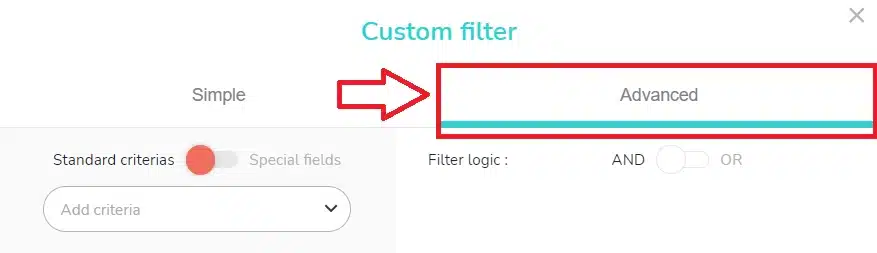
In the “Advanced” tab, you can choose to filter your project’s standard criterias and special fields.
To do this, click on the toggle button: ![]()
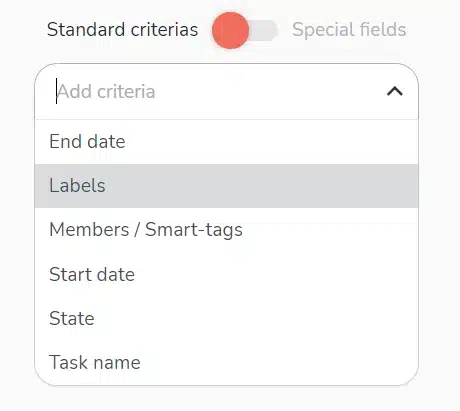
By selecting “Standard criterias”, you can filter according to the following criterias:
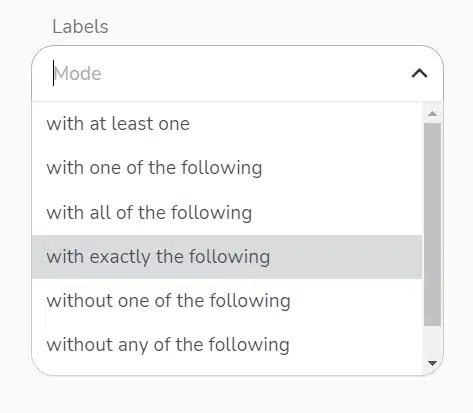
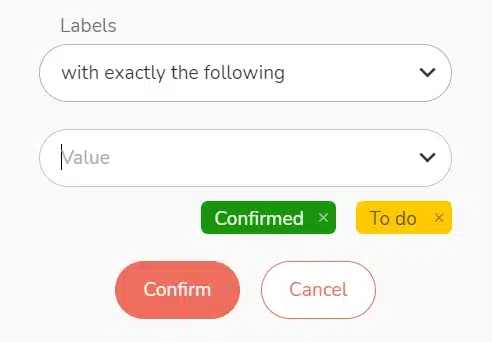
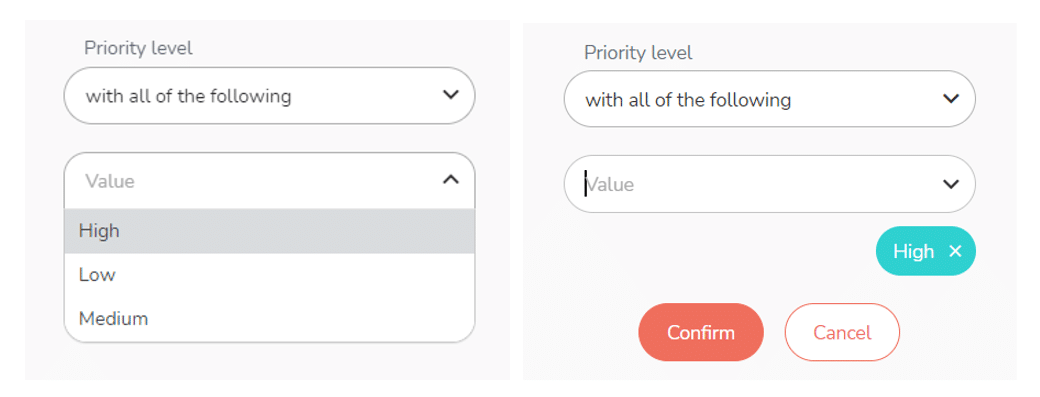
When you select a criteria in the advanced filters, you must also choose a mode of application for this criteria:
Depending on the criteria selected, you may be asked to enter an application value:
By selecting “Special fields”, you can filter the special fields and the values assigned to them:
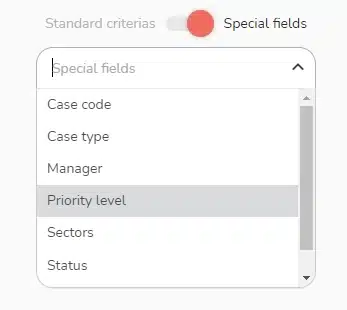
This filtering is only possible if you have previously generated special fields. To find out more, see the article about special fields: https://www.beesbusy.com/resources/features/user-account-profile/special-fields/
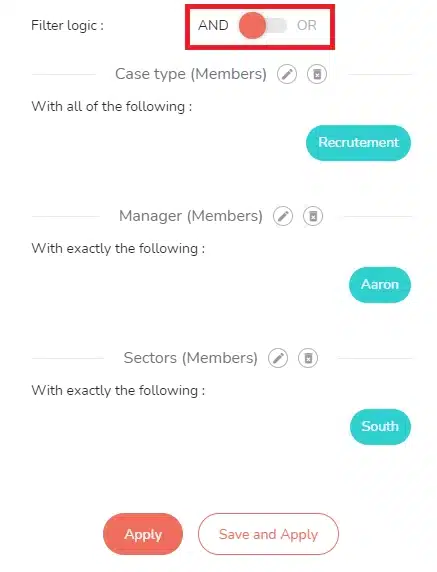
The filtering logic
If you combine several queries, you can define the filtering logic by choosing whether to combine or separate them.
To do this, click on the toggle button:
Save, modify or create a filter
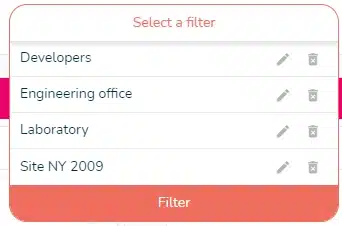
Before validating and applying your filters, you can modify and/or delete them by clicking on the buttons to the right of the previews:![]()
Once you have chosen your filters, you can apply or save the filter:
- Click on “Apply”. The window closes and the filter is applied to the data in your view.
- Click on “Save and apply”: you can name the filter selection and save it as a favorite for future use.
To modify an active filter, click on the pencil on the “Custom filter” button in the top right-hand corner: 
To view and reuse saved filters, simply click on the filter icon again: